Overview
The CBO setup form at agentgrow.io/user/onboarding is not a one-time questionnaire. You can return to it, update any field, and save — at any point after your agent goes live. Your agent picks up the new information automatically at its next session start.
Your strategy will evolve. You may pivot into a new market, refine your brand voice after reviewing early content, or expand into new channels. The setup form is designed to accommodate that. Think of it as a living brief — not a locked-in configuration. Platform connections are managed separately via the Integrations page.
What You Can Change
Every field in the CBO setup form can be edited at any time. Here is a breakdown of what each section controls and why you might update it.
Business Description
The core identity your agent uses across all content — blog posts, social captions, and email outreach. Update this if you rebrand, pivot, or want to reframe your positioning.
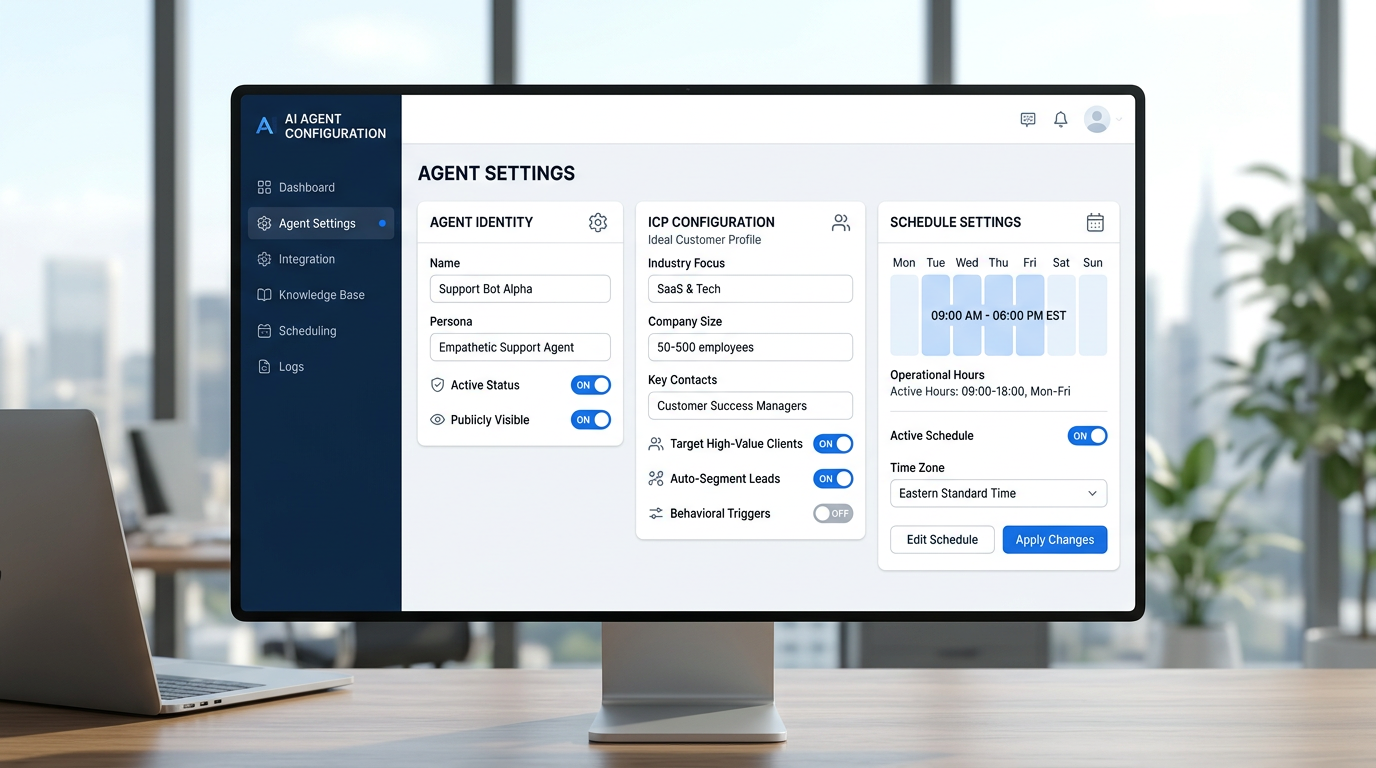
Ideal Customer Profile (ICP)
Defines who your agent writes for. Use the AI-powered ICP builder (enter your website + ideal clients) to generate a structured profile, or edit it manually. Update this if you are moving upmarket, targeting a new industry vertical, or narrowing your niche.
Brand Voice & Tone
Controls how your agent sounds — formal or conversational, bold or measured, technical or accessible. Refine this after reviewing a few weeks of published content.
Competitor URLs
The list of businesses your agent monitors for the weekly competitor analysis report. Keep this current as new players enter your space or as your focus shifts.
The form also shows your Telegram connection status — confirming whether your agent is paired and which group it is active in. This is read-only on the form; Telegram setup is managed by your AgentGrow admin.
How to Edit Your Settings
Log in to your dashboard
Go to agentgrow.io/user/dashboard and sign in with your AgentGrow credentials (the email and password sent when your account was created).
Navigate to Agent Settings
From the dashboard, click Agent Settings in the left navigation, or go directly to agentgrow.io/user/onboarding. The form loads with your currently saved values pre-filled — you are not starting from scratch.
Make your changes
Edit any field you want to update. You can change a single line or rewrite multiple sections. There is no save-as-draft; all fields are submitted together when you click Save.
Click Save
Click the Save Settings button at the bottom of the form. A confirmation message will appear. Your updated brief is now stored and will be used by your agent from its next session onward.
What Happens After Saving
When you save updated settings, your agent is re-briefed on its next session start. Here is the sequence:
- Your settings are stored in the platform database immediately on save.
- Your agent reads its operating brief (the AGENTS.md workspace file) at the beginning of every session — this includes your business profile, audience, and tone.
- The next scheduled task (blog post, social update, competitor report) runs using the updated context. Previous published content is not modified.
- Tone and voice changes take effect immediately in new content. If you have pending approvals in your queue when you update, those drafts were written with the previous brief. You can request revisions on any queued item.
You do not need to restart anything or contact support. The update cycle is fully automatic.
Tips for Keeping Your Brief Current
- Review your ICP quarterly. Your ideal customer profile may shift as you learn what topics drive traffic and which audience segments convert. Every 90 days is a natural rhythm.
- Refine tone after the first month. It is hard to know exactly what "conversational but authoritative" sounds like until you have seen a few weeks of published posts. Use that feedback to sharpen the brief.
- Keep competitor URLs current. New entrants and market shifts happen fast. An outdated competitor list means your agent's analysis misses what actually matters to your prospects.
- Update audience before campaigns. If you are running a seasonal offer or targeting a new segment, update the customer profile before your campaign content runs — not after.
- Add platforms when you are ready. Do not enable Instagram or LinkedIn until you have connected the credentials on the Integrations page. The platform preference and the integration need to match.
Rajesh Gheware
Founder, AgentGrow · AI Marketing Automation Expert
Building AI agents that handle marketing for SMBs and consulting firms. Based in Bengaluru, India.
📚 Related reading:
Frequently Asked Questions
Does saving new settings affect content that is already in my approval queue?
No. Content in your approval queue was generated with the previous brief. It will not be automatically rewritten when you update settings. If a queued draft no longer reflects your updated direction, click Request Changes on that item and describe what you want adjusted. Your agent will revise it using the new brief.
Can I revert to an older version of my settings?
The platform does not store a history of previous settings — each save overwrites the previous values. If you want to keep a record of what your brief looked like before a major change, copy and paste the key fields into a document before editing. This is especially useful if you are running A/B experiments with different messaging strategies.
How quickly will I see the effect of my changes in new content?
Your agent applies updated settings from the next session start. Scheduled tasks (blog posts, social updates) run on their usual cadence — typically within 24 hours of your save. If you want to see an immediate effect, ask your agent in Telegram to run a specific task now, and it will use your latest brief.